
Week 3 - Exploring Headshot Techniques
Creating polished, professional headshots using one-light and two-light studio setups.
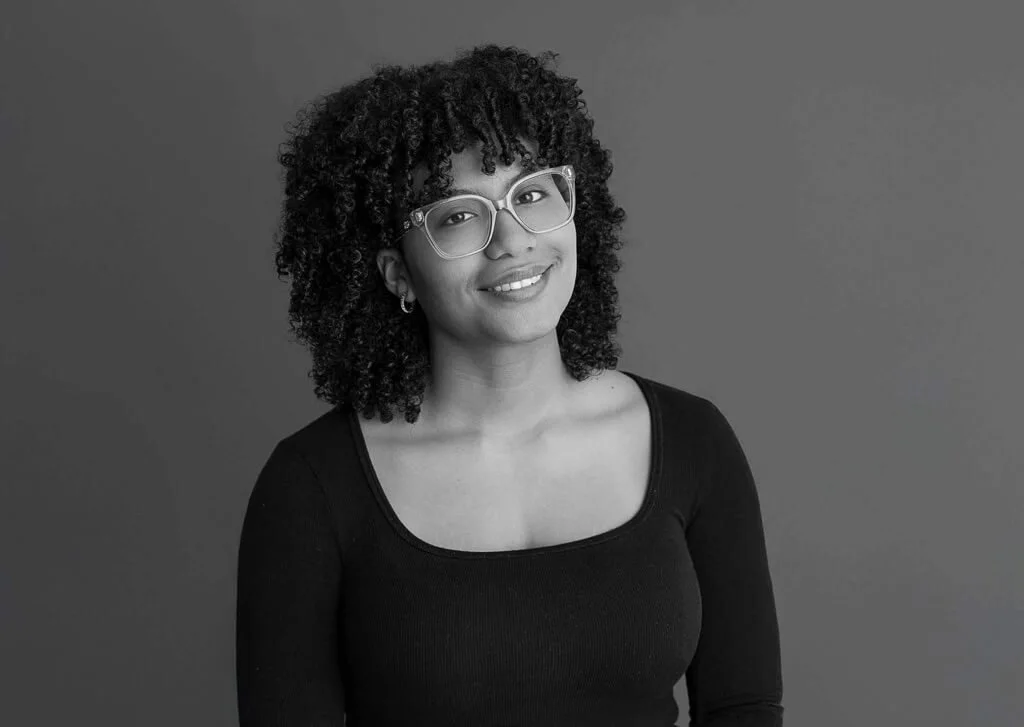
This lesson shows you how to shape light, add separation with a hair light, and guide your subject into natural, confident poses.
What You’ll Learn This Week
Lesson 3 – Exploring Headshot Techniques (Photography)
Headshots are one of the most versatile types of portrait photography. In this lesson, you’ll learn how to create professional-quality headshots using both one-light and two-light setups. We’ll cover how to position your key light, when to use a reflector, how to add a hair light for separation, and how to direct your subject for natural, confident poses.
By the end of this lesson, you will understand:
• How to build a clean, flattering one-light headshot setup
• How to use a reflector to control shadows and soften contrast
• How to position your subject for natural-looking expressions
• How to set up a two-light system with a hair light
• How a hair light adds depth and separation
• How to balance brightness between your key light and hair light
• How camera settings interact with your lighting choices
• How small posing adjustments improve overall headshot quality
Lesson 3 Downloads
These are the digital versions of the handouts you’ll receive in class. Download and save these to your computer for easy reference.
If you misplace your printed handout, this is your backup copy.
🎥 Lesson 3 Video
This is your Lesson 3 video walkthrough. Watch this before class to prepare, or revisit it afterward to reinforce what we covered in the studio.
Take notes as you watch. Don’t worry about mastering everything at once - we’ll build this skill together through hands-on practice.
Simple One-Light Headshot Techniques
Editing Your Headshots
Week 3 Assignment - Headshot Practice
This week you will create a LinkedIn-style professional headshot using the lighting techniques from class.
Who Can Be in the Photo
Your subject can be:
• Yourself (self-portrait)
• A friend
• A family member
Any option is perfectly fine.
Part 1 – One Light Headshot
Create a professional headshot using only one light source.
Use whatever you have at home:
• Window light
• A lamp
• A ring light
• An LED panel
Focus on:
• Clean background
• Flattering light angle
• Chest-and-up framing
• Natural, professional look
Part 2 – Optional: Add a Hair Light
If you have the ability, add a second light behind the subject as a hair light for extra separation.
This can be:
• A second lamp
• A small LED
• A phone flashlight
This step is optional, but encouraged if you can try it.
What to Submit
Please upload to the google drive:
• 2 final images using a one-light setup
• 2 final images using a two-light setup (if possible)
With your post, include a short note explaining:
• What lights you used
• Where you placed them
• What background you chose
• What you found easy or challenging
Goal of This Assignment
To show that you can create a clean, professional headshot at home with simple lighting and good technique.
Have fun and experiment.
✅ When you are finished, upload your three final images to the Google Drive link on the portal homepage.
Next Lesson
When you're ready, continue on to the next lesson.