
Week 6 - Video Interviews
Learn the fundamentals of video interviews
Learn how to set up professional-looking video interviews using proper framing, lighting, audio, and mic placement.
What You’ll Learn This Week
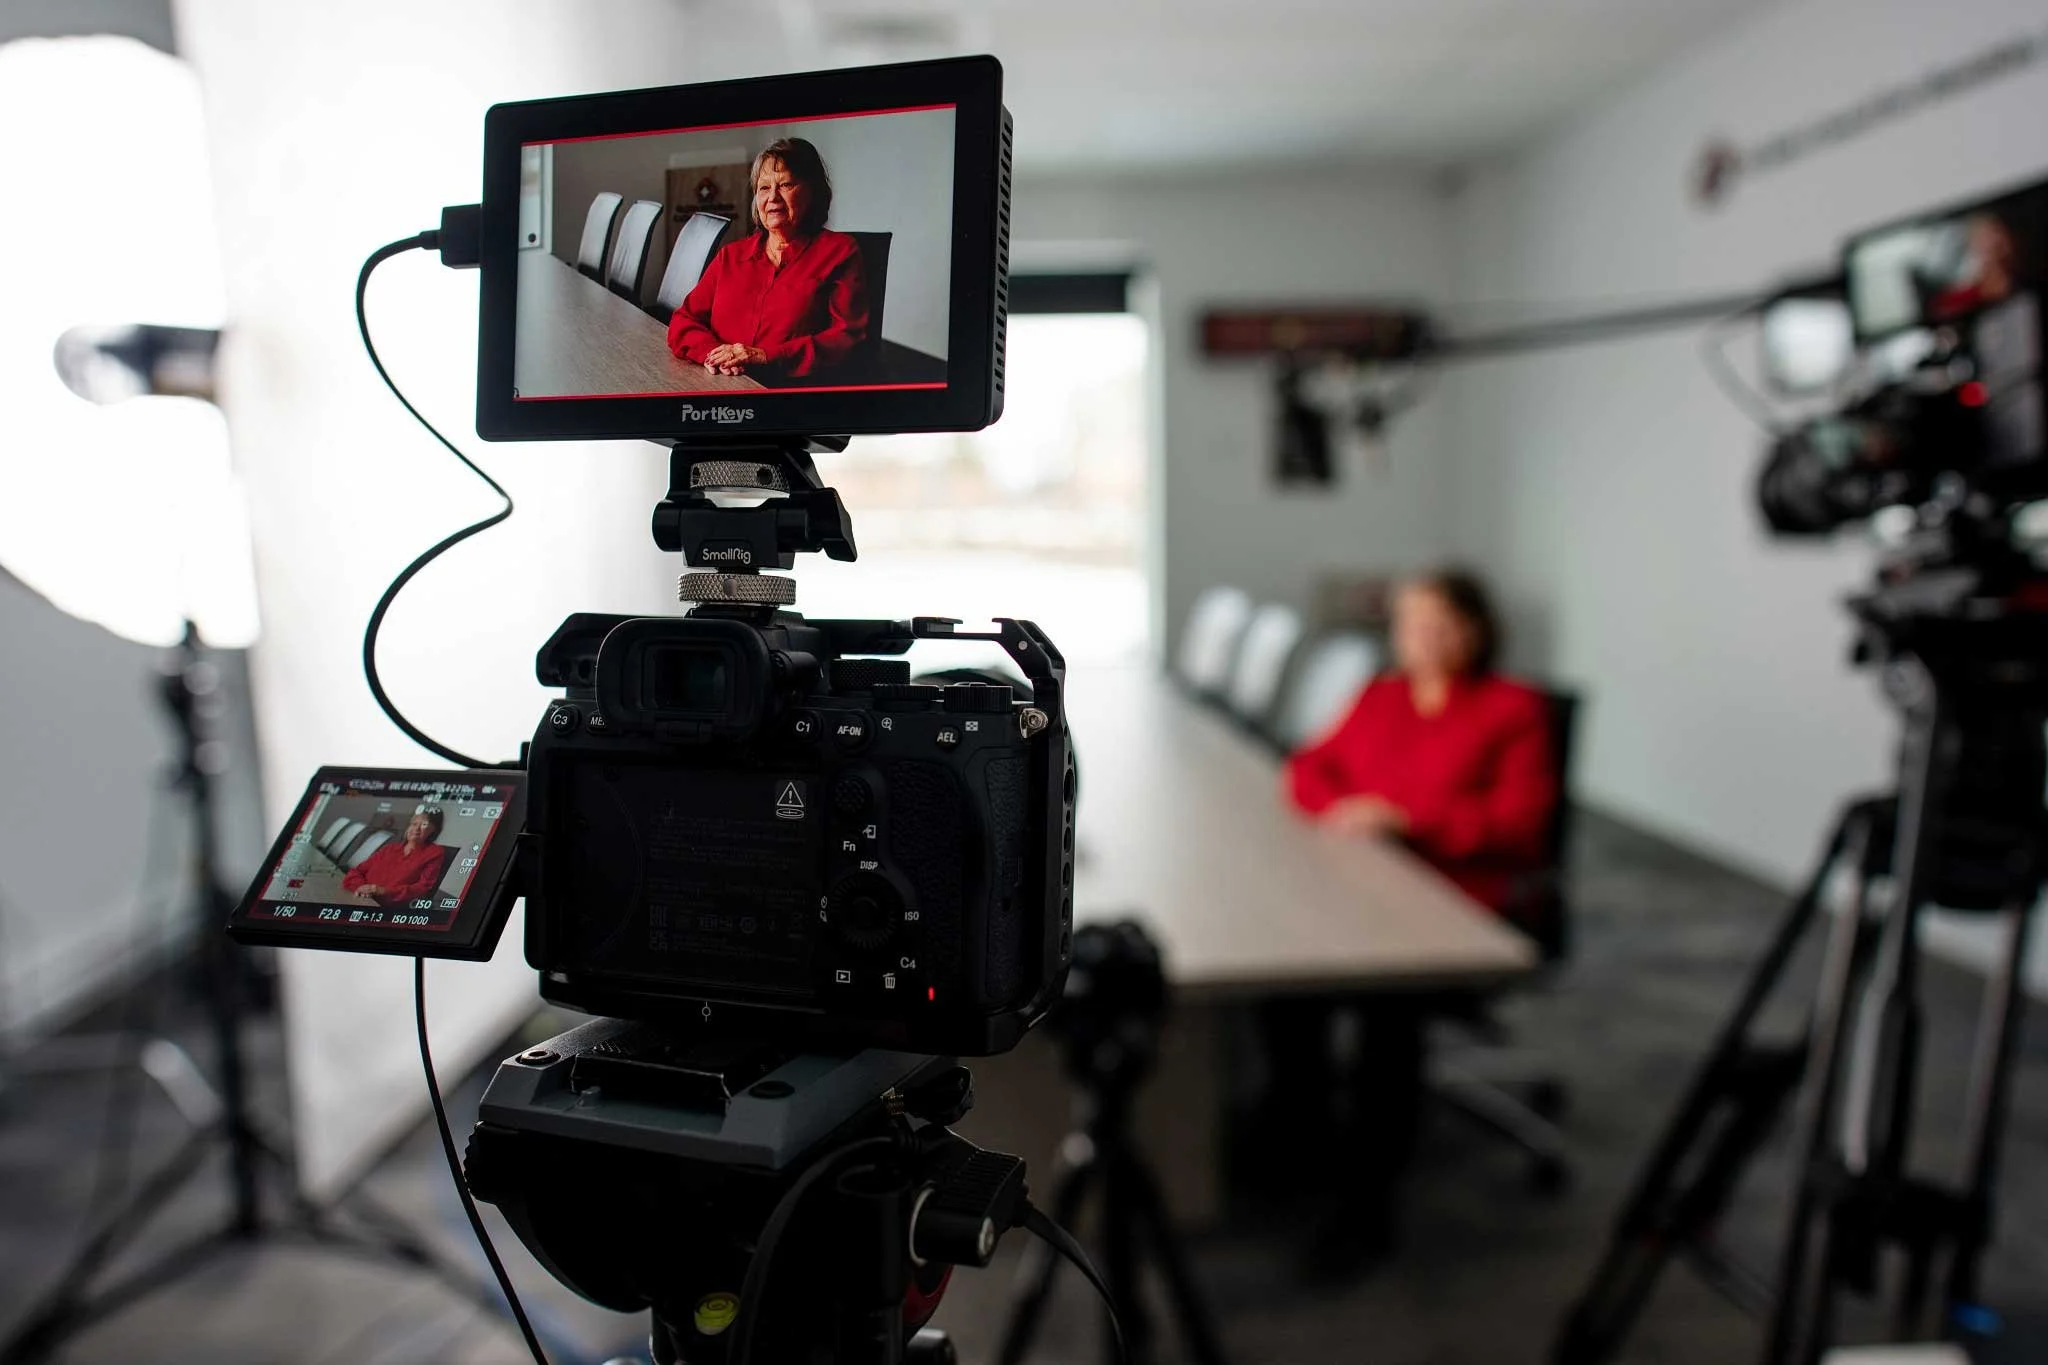
In this lesson, you’ll learn how to film clean, professional videos of people speaking. This could be an interview, a business owner introducing their services, an employee sharing a story, or even yourself talking to camera for social media.
You’ll learn how to frame your subject, light them effectively, capture clear audio, and create a comfortable environment so people look and sound confident on camera.
By the end of this lesson, you will understand:
• How to frame someone who is speaking on camera
• Proper camera height and distance for talking videos
• Where subjects should look (into camera vs off-camera)
• How to choose clean, visually interesting backgrounds
• How to create subject separation using depth of field
• Lighting setups for people on camera
• How to use natural and practical light
• Audio techniques for clear speech recording
• Lens choices that flatter people on camera
• Tips for helping people feel comfortable while speaking
• How to add B-roll to support talking videos
This applies to:
✔ YouTube
✔ Instagram
✔ Business marketing
✔ Testimonials
✔ Interviews
✔ Brand videos
And more!
Lesson 6 Downloads
These are the digital versions of the handouts you’ll receive in class. Download and save these to your computer for easy reference.
If you misplace your printed handout, this is your backup copy.
🎥 Lesson 6 - Interview Videos.
In this lesson, you’ll learn how to create a clean, professional interview setup using a simple two light arrangement that works great for YouTube videos, client interviews, testimonials, documentaries, online courses, and business content.
This setup is designed to look cinematic without needing a huge amount of gear or a complicated studio setup.
In this tutorial, I walk through:
• Main key light placement
• Rim light setup for separation
• Using ambient background light
• Subject positioning and depth
• Eye line techniques
• Talking directly to camera vs off camera
• Creating a more polished, cinematic interview look
For this setup, I’m using:
• Amaran Ray 360 with a deep dish softbox
• Amaran Pano 120 as a subtle rim light
• Ambient pot lights for background separation
As you watch, pay attention to:
• How the key light shapes the face
• How the rim light separates the subject from the background
• How pulling the subject away from the wall creates depth
• How subtle background ambience improves the overall image
• The difference between direct-to-camera and off-camera eye lines
A professional interview setup does not need to be overly complicated.
One strong key light, one subtle rim light, and a little background ambience can go a very long way.
Simple, clean, and professional.
Week 6 Assignment
This assignment focuses on filming a polished interview-style setup using the techniques from this week’s lesson. You may film another person or yourself, but the goal is to create a more refined, professional interview look than in previous weeks.
Your goals this week are to:
• Set up a seated interview-style shot with intentional composition
• Frame the subject slightly off-center using the rule of thirds
• Position the camera at proper eye level for a natural look
• Direct the subject’s eyeline (into camera or slightly off-camera - choose intentionally)
• Choose a clean background and create separation from it
• Light the subject using a key light at a 45° angle (optional hair or kicker light)
• Capture clear, well-leveled audio using a lav or shotgun mic
• Record two short takes of the same answer (practice directing performance)
• Film one short clip with the subject looking into camera
• Film one short clip with the subject looking slightly off camera
Your final submission should demonstrate control over framing, lighting, audio, and eyeline, and show a clear difference between the two speaking styles.
Next Lesson
When you're ready, continue on to the next lesson.