
Chapter 2 - Lighting Fundamentals
Create professional-looking portraits and video using simple lighting setups.
Learn how to shape light, control mood, and create clean, flattering results with confidence.
What You’ll Learn in This Chapter
Lighting Basics for Portraits (Photo + Video)
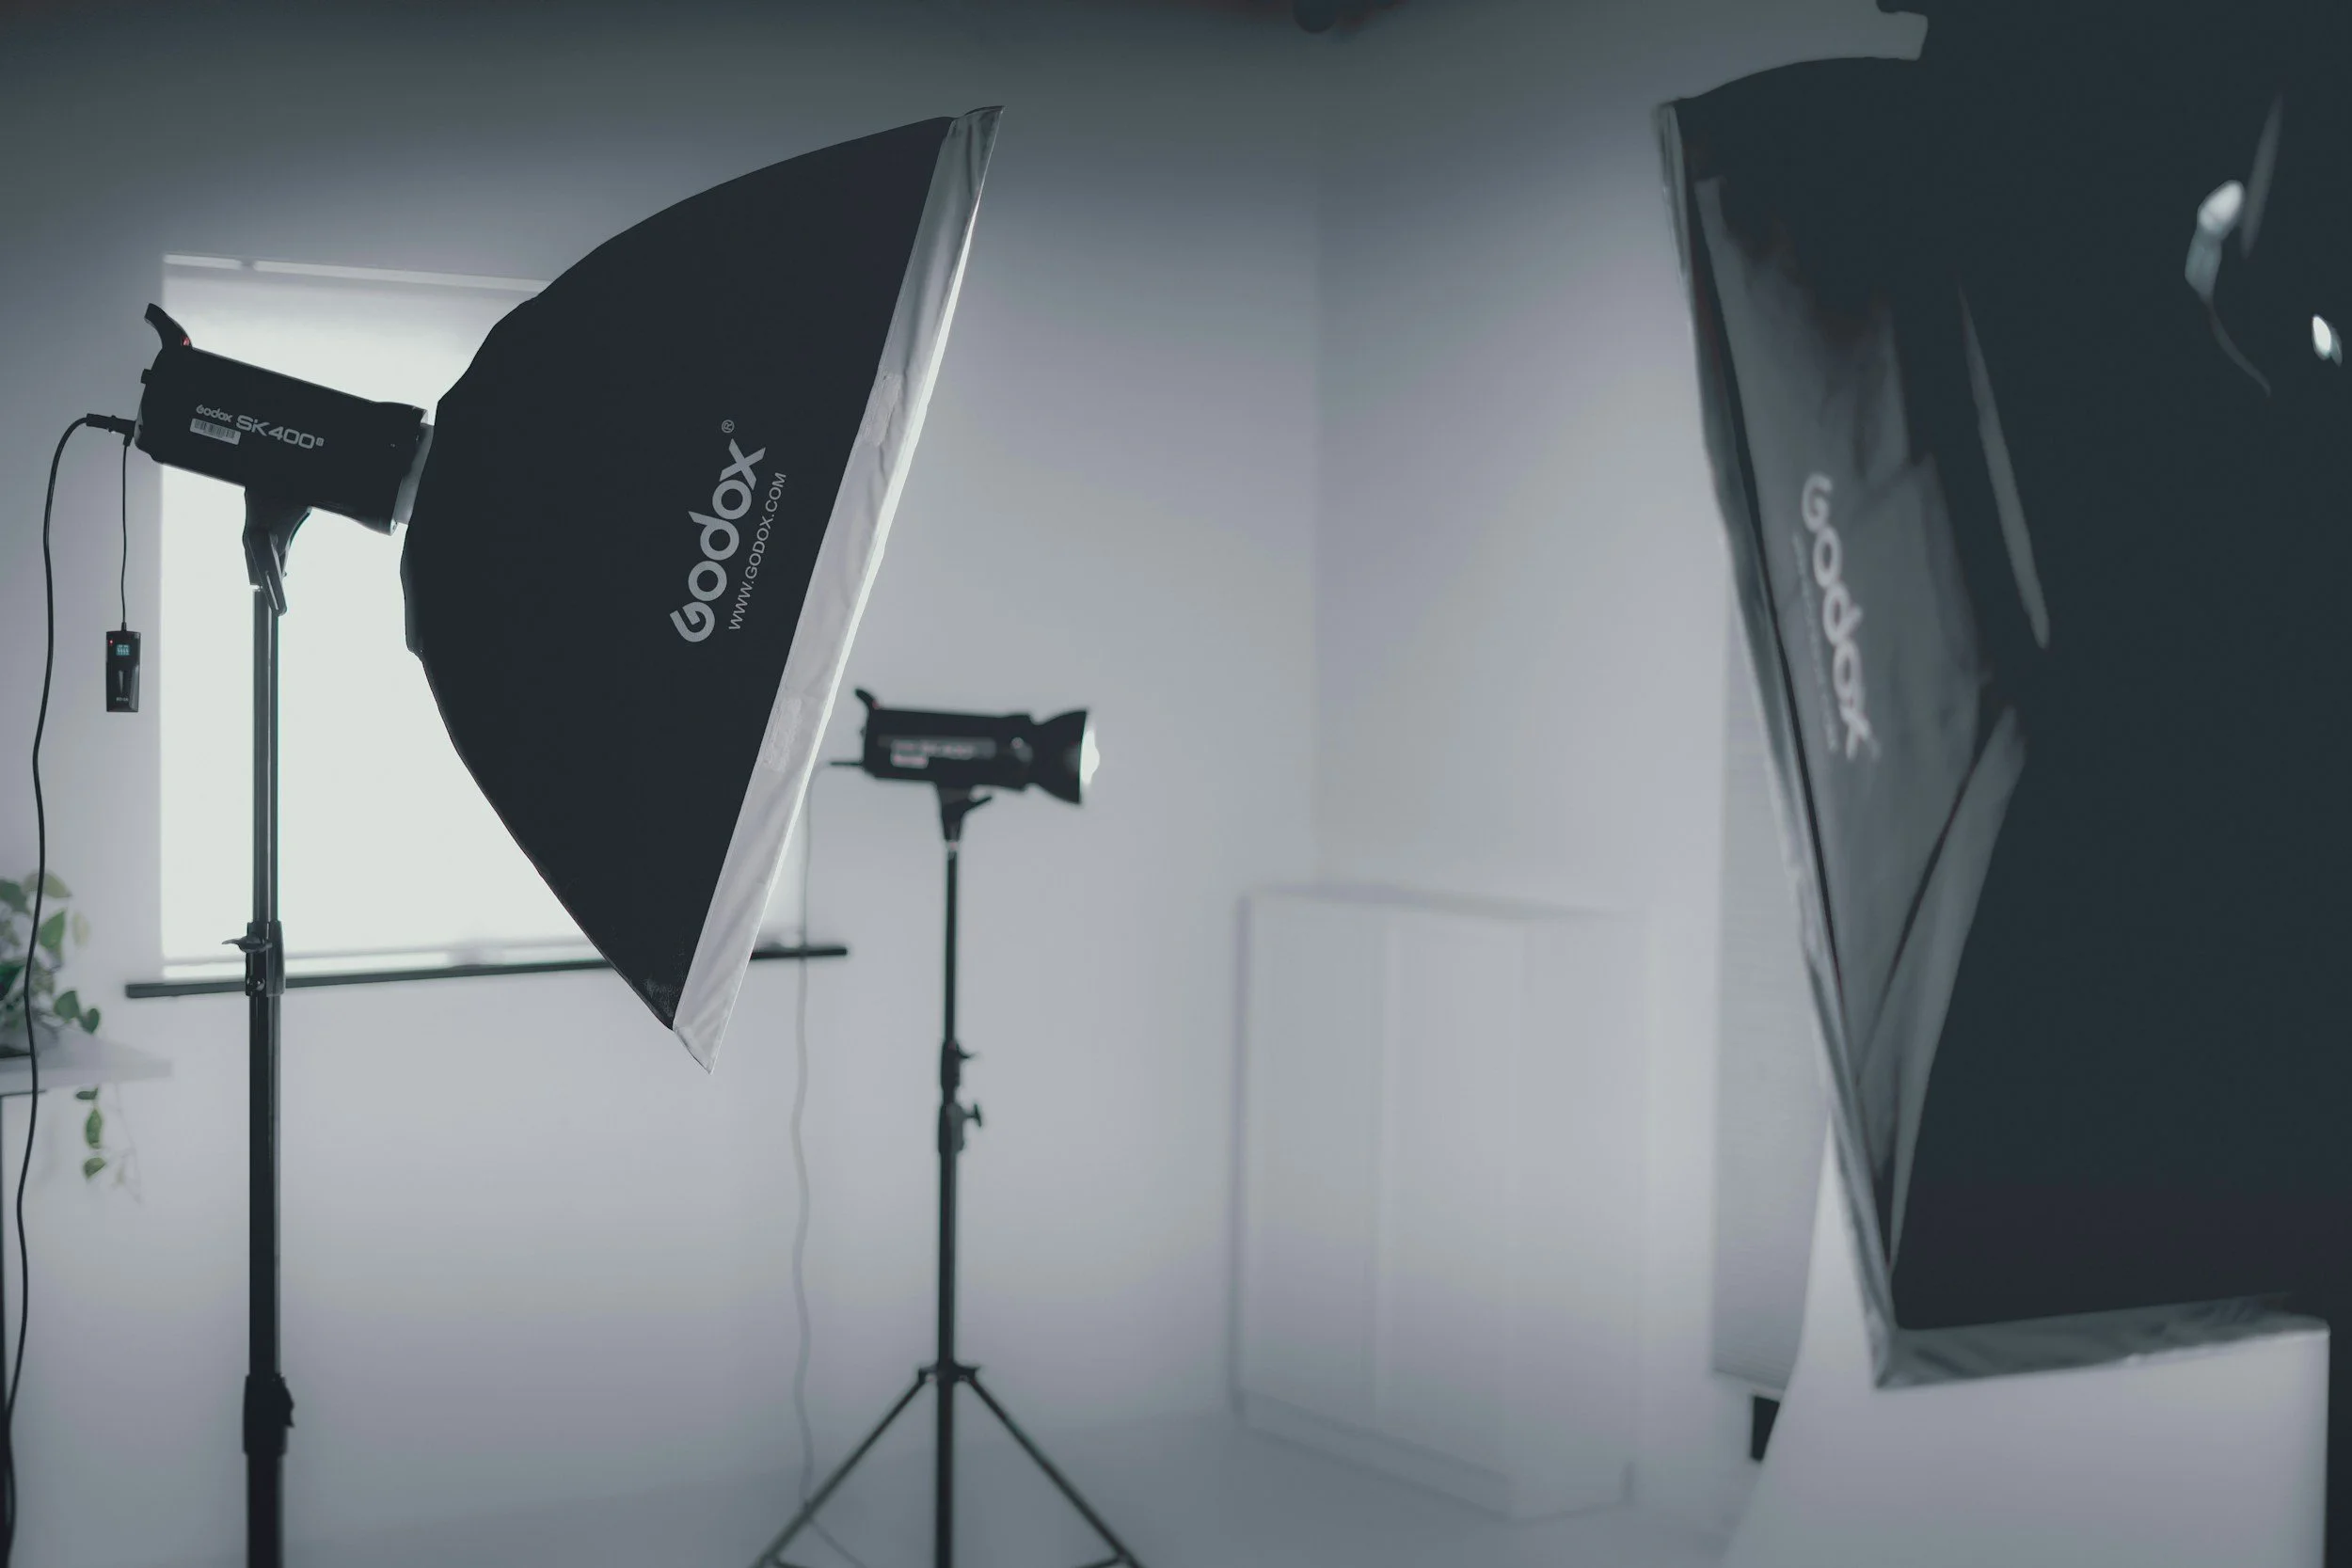
Lighting is one of the most important skills in both photography and videography.
In this chapter, you’ll learn how to shape, control, and direct light to create clean, professional-looking portraits and video in a variety of environments.
In this chapter, you’ll learn how to:
• Understand the three main properties of light: direction, quality, and intensity
• Recognize the difference between front light, side light, and backlight
• Use rim light and hair light to add depth and separation
• Control mood and skin texture using soft and hard light
• Adjust light distance and power to control brightness
• Understand the difference between constant lights and strobes
Chapter 2 Downloads
These are the digital notes and resources for this chapter.
Download them before watching the lessons so you can follow along and reinforce what you’re learning.
Save these to your computer for easy reference as you practice.
🎥 Video Lessons
These videos break down the core lighting skills covered in this chapter, one concept at a time.
Each lesson is short and focused so you can follow along, pause when needed, and build your understanding step by step.
Work through the videos in order, and revisit them anytime to reinforce key concepts and improve your results.
One Light Portraits
Video Lighting
🛠 Chapter 2 Task
Lighting Practice – Building Control & Consistency
This task is designed to help you apply what you’ve learned about lighting and start building confidence with simple portrait setups.
Your Task
Create three portraits of the same subject.
Your subject can be:
a friend
a family member
or a self-portrait
Each portrait should use a different lighting approach.
Portrait 1 – Window Light
Create a portrait using natural window light only.
Focus on:
light direction (front vs side)
distance from the window
how shadows shape the face
Portrait 2 – Constant Light (Front Light)
Create a portrait using one constant light source positioned as a front light.
This can be:
a video light
a ring light
a lamp
or any light you have access to
Focus on:
even exposure
soft vs hard light
keeping shadows minimal
Portrait 3 – Constant Light (Side / 45° Angle)
Create a portrait using one constant light source placed at a side or 45-degree angle.
This image should feel more shaped and directional.
Focus on:
shadow placement
contrast and depth
creating mood with light direction
What to Pay Attention To
For all three portraits, pay attention to:
how light direction changes the look
how shadows shape the face
how small adjustments affect mood
The goal here is intention and control—not perfection.
Take your time, experiment, and revisit your setups to see how small changes improve your results.
Next Chapter
When you're ready, continue on to the next chapter.